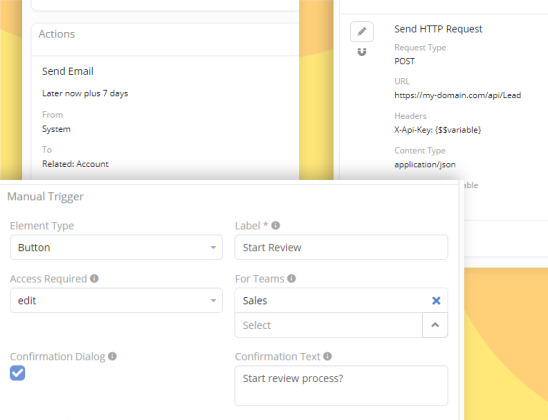
The Workflows tool allows you to set up simple automation rules.
When creating a workflow rule, you need to define:
- trigger type,
- conditions that trigger the rule,
- actions that will be executed as the workflow is processed.
The Workflows feature is available in the Advanced Pack extension. It is also included in the cloud plans.
Quick tour
Take our quick tour to learn about the Workflow tool. Click on hotspots or use the arrow keys to move through steps.
Documentation
For more detail information on how to utilize the Workflows tool, see the documentation.

Use case examples
Case 1. Customer purchases your product. After couple of days, the system sends an email to the customer asking questions regarding the product. One of possible solutions:
- Create a workflow rule with the trigger ‘After record created’ for Opportunity.
- Add the needed conditions (like Stage equals ‘Closed Won’).
- Add an action ‘Send Email’, specify the number of days when the email must be sent, select Account as a recipient, and select an email template.
Case 2. When a Lead is converted, create a Task assigned to the manager.
- Create a workflow rule with the trigger type ‘After record saved’ for Lead.
- Add two conditions: Status equals ‘Converted’ and Status changed.
- Add an action ‘Create Related Entity’, select the Tasks link, and specify all needed Task’s fields. Specify the Assigned User field with the needed user.
Case 3. Distribute cases created in a portal among Support team members. The user who has the least amount of open cases must be assigned first.
Create a List report that displays only open Cases. For this, add a filter by the Status field. Create a workflow rule with the trigger type ‘After record created’ for Case.
- Check ‘Portal Only’.
- Add an action ‘Apply Assignment Rule’.
- Select the ‘Least-Busy’ rule.
- Select your ‘Support’ team as a target team.
- Select the Report you just created.
More use cases
- Birthday notifications in EspoCRM
- Adding custom service action for Workflows
- Automated Email-to-Lead with Workflows
- Automatic posting to stream with Workflows
- Sending Telegram message with Workflows
See more
- Workflows overview video
